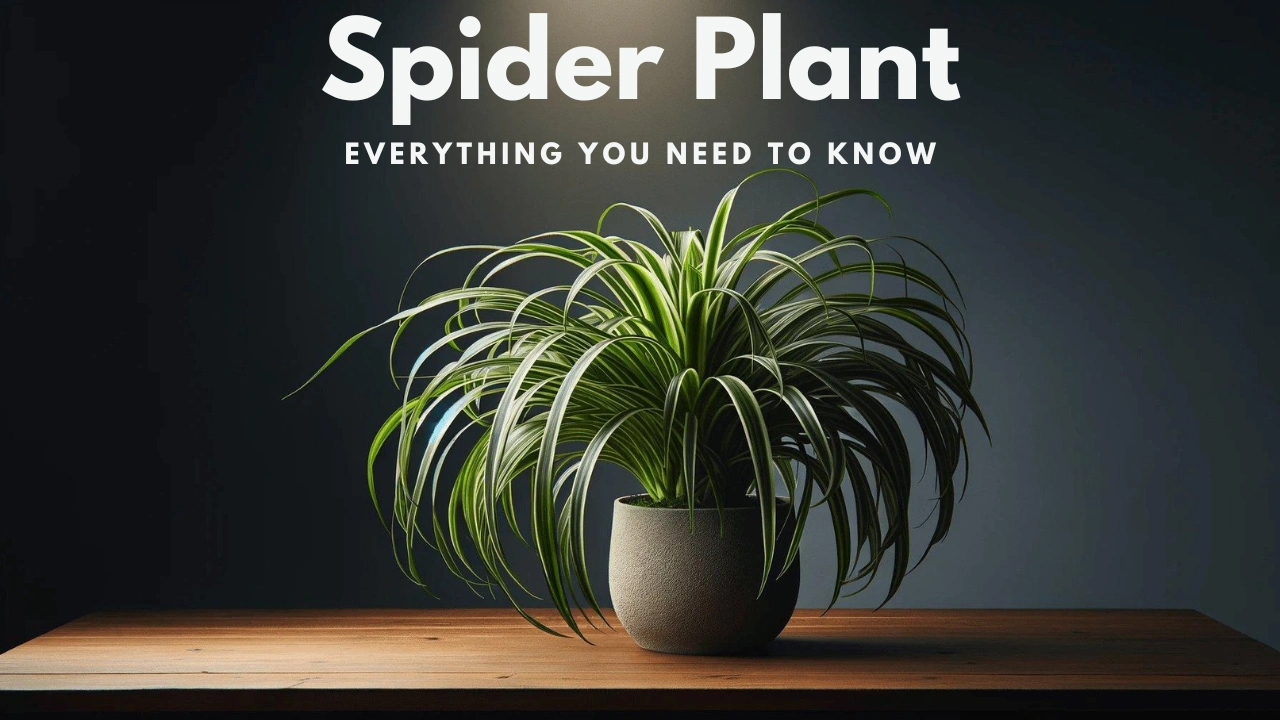
If you want to quickly add a lot of greenery to your home, and want a houseplant that is both easy to care for and non-toxic, Certainly, the spider plant is your ideal plant!
Despite its creepy-crawly name, spider plants (Chlorophytum comosum) are one of the easiest plants to care for, and learning how to give them proper care will surely set you on a good path toward growing more challenging indoor plants.
It’s also fascinating how the Spider Plant is able to propagate itself very quickly, through people like us! In many cases, a plantlet has a very high success rate after becoming a “baby” or “pup” from the mother plant.
In this article, you will learn about every aspect of this plant, from its growth to how you should take care of it. Also, continue reading to find out the benefits you can get from your creepy crawly friend!
Table of Contents
About Spider plant
| Common Names | Spider plant, spider ivy, ribbon plant |
| Botanical Name | Chlorophytum comosum |
| Family | Asparagaceae |
| Plant Type | Herbaceous, perennial |
| Mature Size | 12–24 inches tall and wide |
| Sun Exposure | Partial, shade |
| Soil Type | loamy, moist, and well-drained |
| Soil pH | 6.0-6.5 with a high tolerance up to 7.0. |
| Hardiness Zones | 9–11 (USDA) |
| Native Area | Central and Southern Africa |
Types of Spider Plant
Let us quickly check some of the different cultivars that you can come across, before jumping straight into the all-important growing and care instructions.
So, here are some common varieties of spider plants, including
1. Chlorophytum Comosum
This variety is potentially the original Spider plant. It has green leaves with a subtle light green shade running through the center.
Certainly, you will struggle to find this type of spider plant in an average garden center, so if you wish to have one, you may have to search it out.

2. Chlorophytum comosum “Variegatum”
This is a striking plant that has leaf margins of cream or white color with a dark green stripe down the middle. In addition, it has green stems.
3. Chlorophtum comosum “Vittatum”
This is the first variegated cultivar of the spider plant and till the 1990s, it was widely popular. This plant’s leaves have a center white stripe surrounded by green margins. Moreover, it has long white color stems.
This plant is often displayed to show numerous spider babies that form on mature plants.
4. Chlorophytum comosum “Bonnie”
The last one on our list is Bonnie, this type of spider plant is more compact compared to the main species plant. Additionally, this plant has loosely curled leaves with green margins and a cream stripe in the center. Also, Bonnie blooms yellow flowers.
This spider plant is fast becoming popular as it tends to be compact in size. Moreover, it is ideal if you want to have spider plants but don’t have masses of space to show off spider babies.
How to propagate Spider plants
It is so easy and prolific to propagate Spider plants that you will want to share them with your friends. Even a new parent of the spider plant can do this:
Step 1: When the small plantlets on a spider plant’s stem reach the length of an inch or two, they’re ready to propagate. Once they are ready, use a pair of sharp pruners and trim off the plantlets, keeping the roots intact.
Step 2: Next, fill a clay or plastic container with the potting medium and keep it moist (but not soggy) until they are established.
Step 3: If you want to grow plantlets without roots, place a small pot filled with potting soil near the parent plant. Keep the soil moist and place the plantlet on top of it.
After a few weeks, the roots will appear. You can now separate the plantlet from the parent plant and grow it in a new pot.
Moreover, you can also dig up mature plants and divide them. After dividing the root ball into sections, try to keep the roots intact as much as possible. After that, you can replant each segment separately.
How to Grow Spider Plant from Seed
There isn’t much need for seed propagation since spider plants can be propagated vegetatively by planting offsets or dividing roots. Nonetheless, if you want to plant seeds and you are lucky enough to have a plant that is blooming and producing seeds, you can experiment using this method.
Step 1: To produce fertile seeds, spider plant flowers must be cross-pollinated, which can be done by brushing a small artist’s brush or cotton swab across the individual blossoms once they appear. Make sure you brush all the flowers for proper transmission of pollen to all blossoms.
Step 2: Once the flowers fade, you can see some small green seed pods in their place.
Step 3: When seed pods get dry, pluck them from the plant and break them open to collect the seeds inside.
Step 4: Next, Plant the seeds about 1/2 inch deep in a small pot filled with potting mix, and keep that mix warm and moist until the seeds sprout.
Step 5: As Fertility varies, make sure to plant lots of seeds to ensure some success.
Spider plant Care
As we have seen several types of spider plants, however, in all cases, Chlorophytums have similar care requirements so the care information in this section is relevant for your spider babies.
Also, caring for this plant is easy. This toughy tolerates lots of abuse, making them an ideal candidate for newbie gardeners or those without a green thumb.
With that said, let us learn spider plant care in detail,
1. Spider Plant Light Requirements
All the types of spider plants need a bright spot to keep their stripes. However, if you are growing spider plants outdoor, they prefer to grow in light shade. Although they can tolerate heavy shade, their growth will slow down.
Moreover, direct sunlight can scorch the leaves of spider plants. So, indoors, a bright window or patio door that receives indirect sun is ideal for this plant.
2. Ideal Soil for Spider Plant Growth
The good news about spider plants is that they grow in a variety of soil types. However, they favor loose, loamy soil with good drainage.
Also, this plant prefers a fairly neutral soil pH, however, it can tolerate slightly acidic to slightly alkaline soil. A high level of salts in the soil can turn leaf tips brown.

3. How to Water Your Spider Plant
Spider plants prefer lightly moist but not soggy soil. However, avoid overwatering as this can cause root rot and ultimately kill your plant.
Also, these plants are sensitive to fluoride and chlorine in the water. This can brown their leaf tips. So, if possible, use rainwater or distilled water for potted plants.
The fleshy tuber retains moisture well therefore inconsistent watering will not harm spider plants too much.
Water your spider plant well in the growing months (Spring through to Autumn/Fall) and if you have placed it in a bright spot, you will get a faster growth rate and a good chance of spider babies.
However, water only sparingly in cold months as growth slows down no matter what you do at this time of year and if you’ve too much water sloshing around the roots, it can cause the root rot.
If you are providing water from your municipality and other unfiltered water, be aware that the spider plant is quite sensitive to fluoride, and will exhibit browning tips in response to it.
Instead, watering with rainwater, or filtered or distilled water can help to prevent this. However, if you are using filtered water, double-check to make sure that the filter is able to remove fluoride, not all water filters do that.
Moreover, if you are watering with tap water containing fluoride and your houseplant’s foliage has lots of brown tips, switch your water supply.
You can also help to recover spider plants by removing the potting soil around its roots, soaking them in fresh filtered or non-fluoridated water, and then repotting them with fresh soil.

4. Temperature and Humidity for Spider Plant
Warm and humid are favorable conditions for spider plants. This plant doesn’t like temperatures below 10°C. This also means you need to protect them from drafts and air-conditioning vents when grown indoors.
Moreover, low humidity can cause brown leaf tips. Therefore, regular misting of the plant can help to maintain adequate humidity.
The average warmth of a home is the key to the good growth of spider plants. Also, you can put your spider plant outside in the Summer, however, just make sure to bring it indoors before winter arrives.
In case, the soil dries out, your plant will survive without an issue down to 5°C. However, if the soil is wet or you go colder than this, it will cause some damage to the plant. Also, any exposure to a hard frost will totally destroy your plant overnight.
5. Fertilizing Your Spider Plant
In feeding, this plant prefers a moderate amount of fertilizer. Once a month during the growing season (spring and summer) is enough for spider plants. Also, understand that too much fertilizer will cause brown leaf tips and too little fertilizer will cause weak growth.
For this reason, use an all-purpose granular or water-soluble fertilizer. Also, adjust the necessary amount of fertilizer depending on your plant’s growth.
Moreover, these tough plants accept occasional feeding, but for even regular growth, fertilize at least once a month using a standard houseplant fertilizer.
Also, make sure not to feed newly planted Spider Babies / Pups or mature plants in the winter.
In fertilizer, first thing is to avoid unwanted side effects. Spider plants are sensitive to the build-up of salts and other minerals that occur when fertilized heavily. Moreover, it can exhibit brown leaf tips. Also, overfertilizing can prevent spider plants from producing offsets.
The spider plants have a built-in method for storing nutrients in their tubers. Unlike other plants that need heavy feeding, these really don’t need much!
To protect spider plants from unwanted tip burn, use worm compost tea to fertilize them, an organic approach to fertilizing in contrast to chemical-based products.
In case, you don’t have a worm compost system of your own yet, you can purchase readymade worm compost.
6. Spider Plant Pruning Guide
While pruning spider plants, prune off any dead or browning leaves as they appear. If your plant is becoming too leggy and sparse, remove the plantlet shoots to redirect energy to the main plant.
7. Potting and Repotting Your Spider Plant
Grow spider plants in pots no more than ⅓ as large as the root ball. Also, ensure that the pot has ample drainage holes, and use a loose potting mix. These plants will typically need repotting every 2-3 years. You will know it is time for repotting when you see roots protruding out of the drainage holes and up above the soil line.
For repotting, the best time is spring. While repotting the plant, carefully remove the plant from its old pot and position it at the same depth in a slightly bigger pot. Then, add fresh potting mix.
If you provide ideal care to your spider plant, you will end up repotting a Spider Plant into a bigger pot every Spring until it reaches maturity after about 2-5 years.
Do not repot your spider plant into a larger pot if it is too big and you are unable to move it to a different location, as this will limit its growth.
8. Spider Plant Winter Care Tips
It is always best to cut back on the fertilizing schedule in the winter, as spider plants will naturally go semi-dormant. Make sure to water and mist the plant, the spider plant needs to be kept moist during the dry winter months.
9. Common Spider Plant Pests and Solutions
Generally, Spider plants are healthy, but a few common plant pests, including aphids, whiteflies, and spider mites, can impact them. Damaged foliage is a common sign of an infestation. However, you can naturally and effectively combat some infestations by rinsing your plants. More serious infestations can be treated with an insecticide or a natural remedy, such as neem oil.

10. Toxicity
These plants are non-toxic and safe for humans, dogs, and cats.
Spider plant Benefits
By absorbing harmful elements in the air, spider plants improve indoor air quality. Although one plant may not make much of an impact on the room’s environment, plants contribute to the overall well-being of a home and its residents.
Spider plants were originally from tropical Africa, so they’re typically grown as houseplants in the U.S., but during the summer, you can place them outside, out of direct sunlight. But make sure to bring the plant indoors before the temperatures drop too low. As frost could kill this tropical beauty.
Indoors or outdoors, the spider plant looks wonderful in a hanging basket or placed on a table where its long shoots with the plant “babies” on the ends make an eye-catching display.
Spider Plant Problems
It is pretty difficult to kill this plant, it rarely dies on you. However, it can get a few ugly side effects if you are not treating it right.
1. Spider Plant leaves with brown tips
This is most often caused by excessively hot air (for example, if it is above a radiator) or when under fertilized. So, if possible, feed it once a month during the growing season. The brown ends stay brown, so slice them off with a pair of scissors as soon as they turn brown.

2. Weak / Splitting Leaves
Outside-grown plants are generally stronger and more robust than those grown indoors. They have simply “toughened up” and become accustomed to cooler temperatures and the increase in air movement (wind) outside.
Some houseplants, particularly Spider plants, seem to suffer long-term when grown in “perfect” indoor conditions. This means spider plants enjoy warm temperatures and little air movement all the time.
In favorable indoor conditions, young plants grow really fast and robustly for about 6 months to a year.
After they have reached a decent size, they produce their first flowering stem. After that, the plant tends to become sluggish and its leaves may be weak or split lengthwise. As if they have lost faith.
To fix this, once the risk of cold snaps has passed, put them outdoors for 2-3 weeks in late spring or early summer, this helps massively.
After placing them outdoor for a few weeks, the leaves and stems get thick and increase waxiness. This restores the spider plant to a robust-looking beauty. However, if you can’t put your spider plants outside then try relocating them next to an open window for several hours a day.

3. Leaves with brown streaks (usually in Winter)
This is totally watering fault. You don’t need to provide frequent watering in winter as at this time of the year the plant is hardly growing.
4. Leaves curl with spots of brown / yellowing and leaf fall
In the growing season, this is caused by underwatering. Usually, it means you have allowed the soil to completely dry out and then left it like that for another few weeks.
5. Pale droopy leaves
Again, caused by underwatering with too much sun exposure. To fix this, try to water your spider plant more often, if this is not possible, move it to a spot with less light.
6. No Spider Babies
This is likely because your Spider Plant is too young. Flowers and babies, only appear on more mature spider plants. Also, it needs to be in a reasonably sized pot.
If your spider plant has never been repotted from the tiny pot in which you originally received it, then it’s time for a size upgrade.
Conclusion
Growing this plant is very easy since it is one of the most adaptable houseplants. Moreover, this spider (Chlorophytum comosum) plant can grow in a wide range of conditions and suffers from few problems, other than brown tips.
It has got this creepy-crawly name because of its spider-like plants, or spiderettes which dangle down from the mother plant like spiders on a web.
I hope after reading this article you are breathing a sigh of relief. As you are well aware of how to care for your spider plants, also it is not a challenging task, only you need to ensure a bright light, moist soil, and proper watering of your plant.
Lastly, enjoy the bountiful spider babies that are bound to come!
Also, let us know your experience with your spider plant in below comment section!
FAQs
Q1: Are spider plants toxic to cats?
Spider plant can be safely nibbled by your cats without requiring a trip to the emergency animal hospital. As per the ASPCA and the National Capital Poison Center, spider plants are non-toxic to both cats and dogs.
Q2: How often do I need to water the spider plants?
The spider plant requires only a light drink once or twice a week. Please water less frequently in autumn and winter. You are simply looking to dampen the compost. A good way to check if your spider plant needs watering is to dip your finger into the soil, up to the second knuckle.
Q3: What kind of soil does spider plant like?
The spider plant likes to in loamy, moist, and well-drained, with a pH range of 6.0-6.5 with a high tolerance up to 7.0.
Q4: Can I grow spider plants outdoor?
You can grow spider plants outdoors as annuals during the summer. Additionally, they look good along the edge of a pot or bed, as long as they are kept out of direct sunlight.
Q5: Why is my spider plant turning brown?
If your spider plant starts to turn brown, there’s no need to worry. Browning of leaf tips is quite normal and this will not harm your plant.
Often, this is due to fluoride found in water, which causes a salt build-up in the soil. Usually, it helps to periodically leach plants by giving them a thorough watering to flush out excess salts.
However, make sure to allow the water to drain out and repeat this as needed. Also, it can help to use distilled water or even rainwater on plants instead of that from the kitchen or outside spigot.


